Light & Land
8 tips for mastering long exposure photos by Doug Chinnery
14th November 2017
Every time we open the shutter, our camera captures a moment in time. Our goal is often to achieve the fastest shutter speed possible to capture that moment sharply.
However, some photographers want to show the effects of time on the landscape by keeping the shutter open much longer. In recent years, the ten stop (and six and even fifteen stop) neutral density (ND) filter has become an essential piece of equipment in many kit bags, allowing exposures from several seconds to many minutes. These allow us to portray our world differently and, because of the nature of the techniques, enable us to shoot beyond the restrictions of the ‘golden hours’.
We should always want to create compelling images, not just use a technique for the techniques sake. For long exposure images to be a success, absolute precision and attention to detail is required. Any flaws in your technique will be shown up by the final image.
1: Keep your camera perfectly still

Any camera movement will result in a blurred image. To avoid vibration, it’s vital the tripod is stable. If there is any breeze consider hanging your camera bag from the centre column as ballast and stand between the tripod and wind direction using your body as a shield during the exposure.
Remember when working with long exposures to focus manually. The cameras auto focusing system will struggle to focus through such a dark filter, causing the lens to hunt when you press the shutter release if it’s left in auto focus mode.
If shooting on sand, mud or soft soil, push your tripod well down to stop it sinking or shifting during the exposure.
2: Cover the viewfinder

Another important factor is to remember to cover the viewfinder during the exposure, especially in bright light. Light can enter the viewfinder, reflect onto the internal mirror and the sensor, creating various banding artefacts on the image that are almost impossible to correct in post processing.
Some cameras have a built-in eye piece cover. Many come with a rubber cover fitted to the neck strap. Alternatively, simply cover the eyepiece with some tape, Blu-Tac or even a lens cloth.
3: Compose a great picture
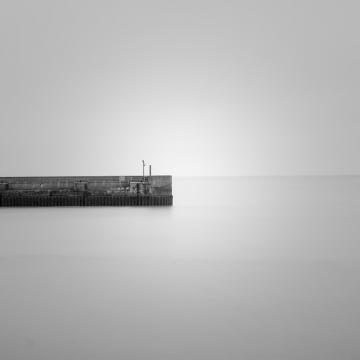
It is not enough to simply point our camera at a scene with a ten-stop filter fitted and think we will get a compelling image. Excellent composition is as vital here as in any form of photography.
Many long exposure images are let down by weak composition. A good question to ask yourself is, “would this image be strong enough compositionally without the ten-stop filter effect?” If the answer is ‘no’, then the long exposure image will probably be weak as well.
4: Less is more
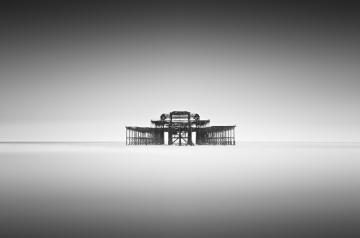
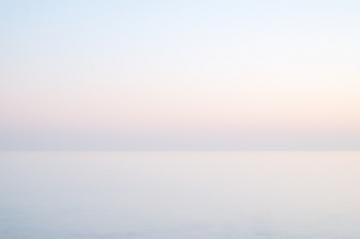
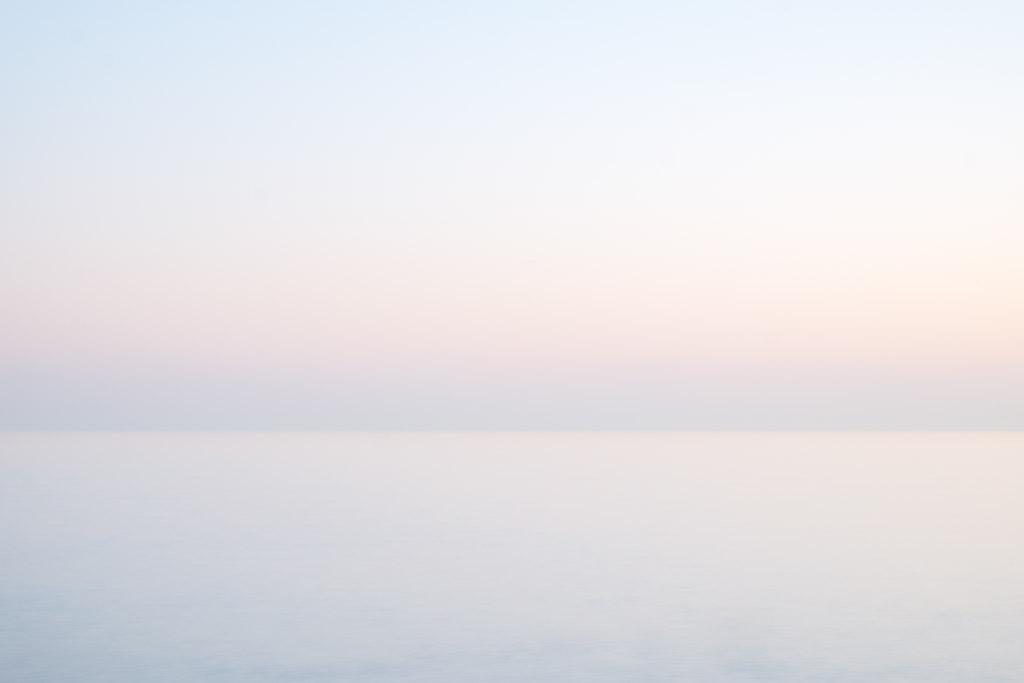
Long exposure images have an ethereal, unworldly feel to them. They show the world in a way the human eye is unable to perceive. This effect tends to lend itself to very minimal compositional styles.
Try to exclude as much as possible from the frame, rather than including as much as you can. Simplicity often yields strong images.
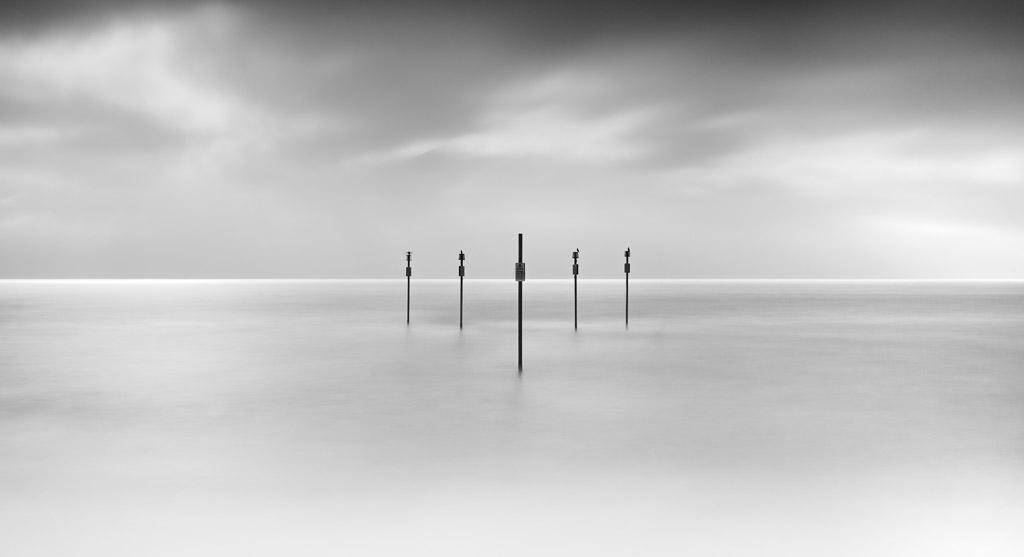
This is further enhanced in many cases by converting the final image to monochrome. The removal of the distractions of colour focuses the eye on shape, form and contrast.
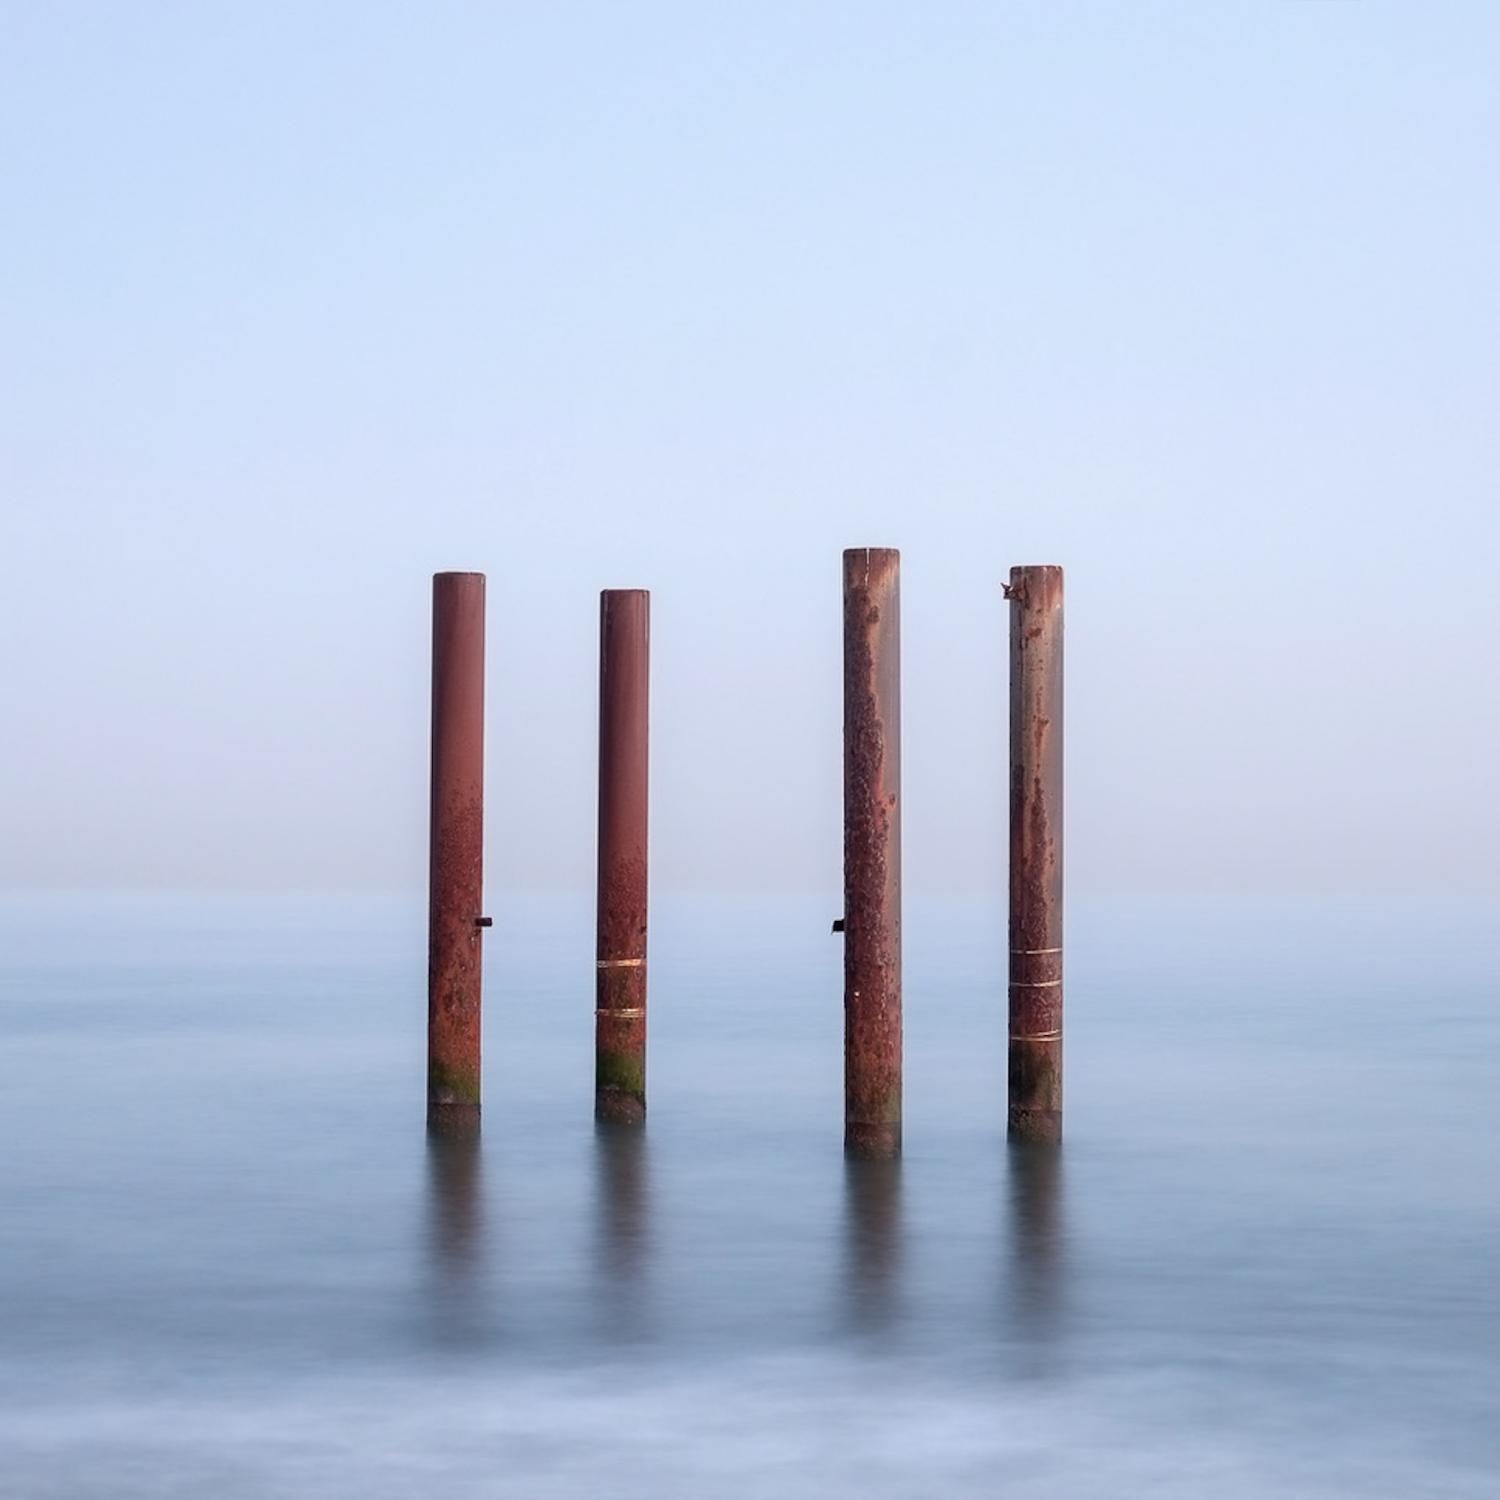
I’m drawn to symmetry in my images and often make my long exposures as symmetrical as possible. I find this is enhanced by working in the square format.
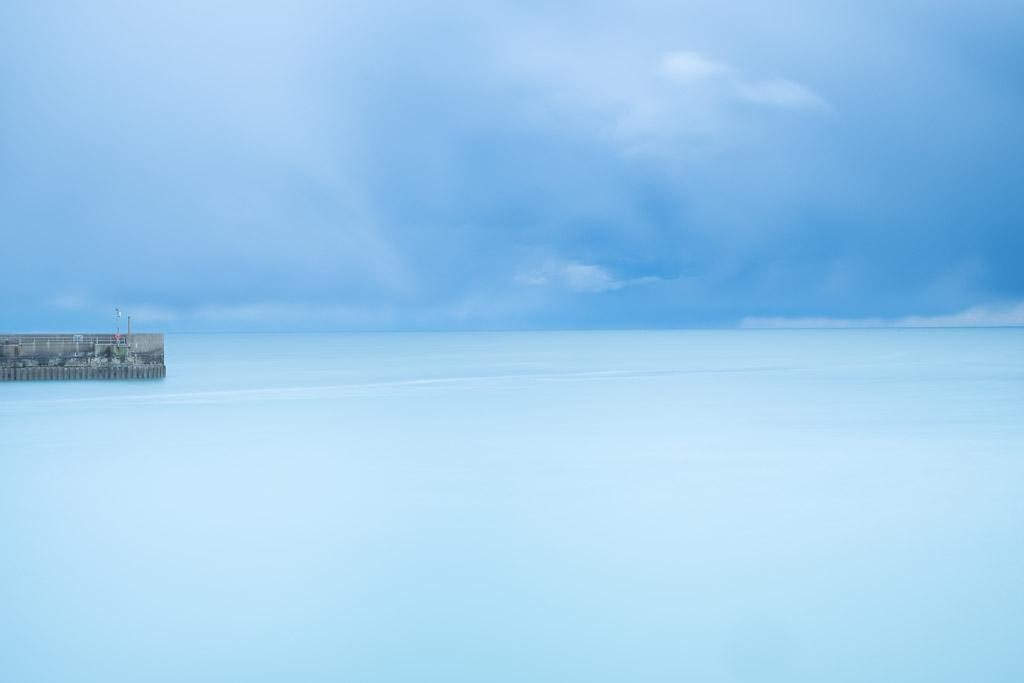
5: Remove unwanted moving features

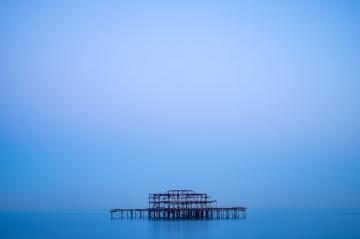
The extreme neutral density filter also has the useful effect of removing unwanted features that move in a composition, such as people or vehicles. Places can become desolate, as the long exposure doesn’t record people or objects that move through the frame during the exposure if it is long enough.
Cityscapes can become as if abandoned following some apocalyptic disaster, empty streets devoid of life. Crowded places can simply be ‘cleared’ of people, so it appears as if you had them to yourself by using long exposures.
6: Work with the gear you have
If you don’t have a ten-stop filter, you can still work with long exposures. Simply go out and make images in very low light or at night.
Look at the work of Michael Kenna who has been making long exposures on film for decades. Most of his work is done at night, giving him exposures from a few minutes to many hours in length.
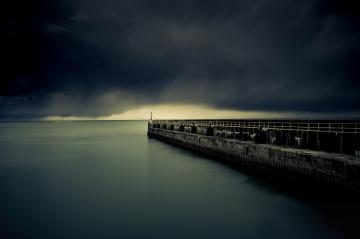
You will find that out in the countryside or on the coast, night exposures of sufficient length and turn night into day. The movement of the stars, moon and clouds will create magical images.
The unpredictability of the results is part of the magic of this process. Seeing the effects of the passing of many minutes or hours on the landscape reveals a world of wonder that’s so different to the world we see.
7: Keep your filters flawlessly clean

It’s always recommended to keep your equipment clean. But with long exposures, it’s vital that you keep your filters scrupulously clean. Dirty or greasy filters will cause flare and spoil your images.
8: Turn off your camera’s long exposure noise reduction
Turn off long exposure noise reduction in your camera’s menu. The camera achieves the noise reduction by making a second exposure of the same length as your actual shot, but without opening the shutter. This ‘black’ image is then analysed by the camera to identify sensor noise. The camera assumes this noise will be in the same places on your actual image and then it removes these pixels from your frame.
If you have just made a two-minute exposure, your camera will be unavailable to you for another two minutes while it makes the ‘black’ image. I recommend turning this off as it consumes double the battery power, halves the number of frames you can make during your time in the field and is not as effective as software noise reduction back on the computer.
I also prefer to control the level of noise reduction I apply to my images. I don’t like a computer making those creative decisions for me.
If you want to learn more about long exposures and develop your photography skills, accompanied by an expert guide and teacher, join Doug Chinnery in Brighton for a special ‘Brighton – Long Exposures’ photography trip from Jan 22-24, 2018. For details, see www.lightandland.co.uk/brighton-long-exposures.
Doug is a professional photographer and photography teacher. He will be guiding upcoming Light & Land photography tours in destinations including Yorkshire, London, The Lake District, Bath, Lanzarote, Budapest and Burgundy. For info, see www.lightandland.co.uk/doug-chinnery.
For more on Doug and his photography, see www.dougchinnery.com.